Microsoft 365 Setup
- Microsoft 365 2FA Setup
- Microsoft 365 Change Password
- Microsoft 365 Sharing Mobile Number With Coworkers
Microsoft 365 2FA Setup
Set up 2-step verification for Office 365
Once your admin enables your organization with 2-step verification (also called multi-factor authentication), you have to set up your account to use it.
By setting up 2-step verification, you add an extra layer of security to your Office 365 account. You sign in with your password (step 1) and a code sent to your phone (step 2).
-
Check whether your Office 365 admin has turned on multi-factor authentication for your account. If they haven't, when you try to do these steps you won't see the options in Office 365.
-
Sign in to Office 365 with your work or school account with your password like you normally do. After you choose Sign in, you'll see this page:

-
Choose Set it up now.
-
Select your authentication method and then follow the prompts on the page. Or, watch the video to learn more.
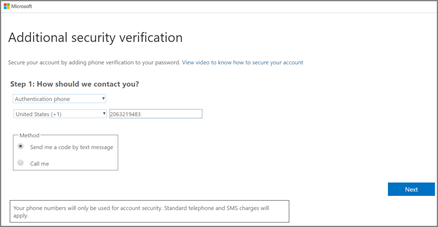
-
After you verify your alternate contact method, choose Next.
-
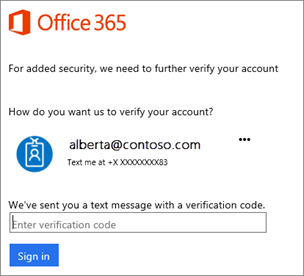
Once you complete the instructions to specify how you want to receive your verification code, the next time you sign in to Office 365, you'll be prompted to enter the code that is sent to you by text message, phone call, etc.
To have a new code sent to you, press F5.
We strongly recommend setting up more than one verification method. For example, if you travel a lot, consider setting up Microsoft Authenticator for your verification method. It's the easiest verification method to use, and a way to avoid text or call charges.
Microsoft 365 Change Password
About
This document describes the steps needed to reset password through Azure to write-back to domain controller.
Microsoft Login
Login to https://office.com or simply go to https://myaccount.microsoft.com/ to get to change password option.
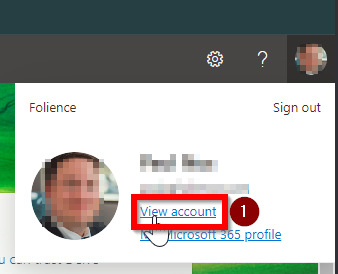
You can click "View Account" if you are already logged in and want to click to the page.
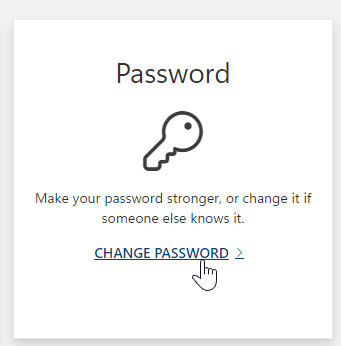
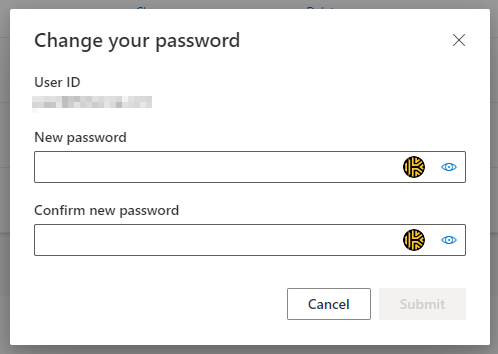
Change Password
Choose the change password option
Enter new password and submit.
Please open a help.desk@folience.com ticket if you run into any issues. Upon success, you may need to re-authorize your Microsoft logins.
Cache Your Password
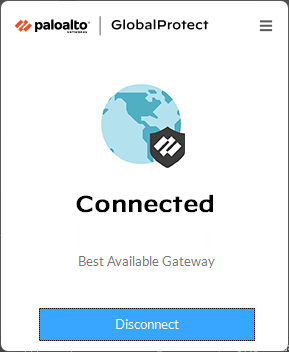
Your password has been changed successfully and has been recorded. However, if you have a laptop and connect using the VPN, your laptop won't know you have changed your password the next time you go to unlock it or log into it.
- Ensure you are connected to the VPN

- Lock your PC by pressing the Windows Key and L at the same time
- Immediately unlock the PC again by entering the new password you just created in the above step
You can now log into your laptop with the new password, even if it does not have an internet connection.
Forgotten Password
If you have forgotten your password and need to change it, you can now reset your own password with Self Service Password Reset.
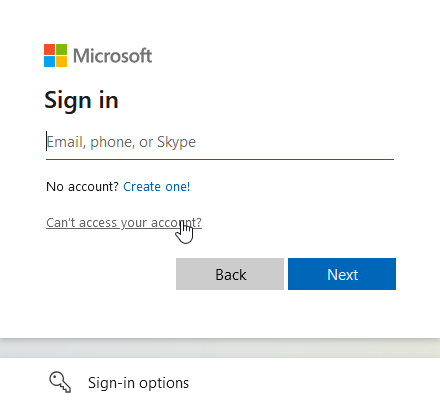
- Navigate to https://office.com or simply go to https://myaccount.microsoft.com/ to begin the process.
- Click Can't access your account?

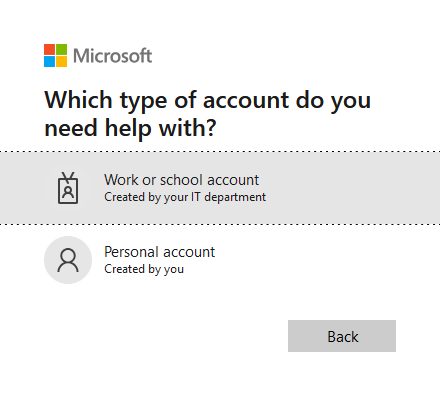
- Click Work or school account

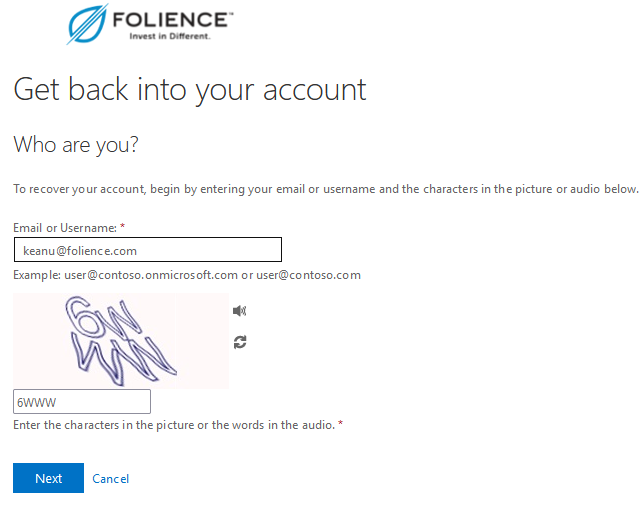
- Enter your e-mail address and complete the captcha to prove you are human

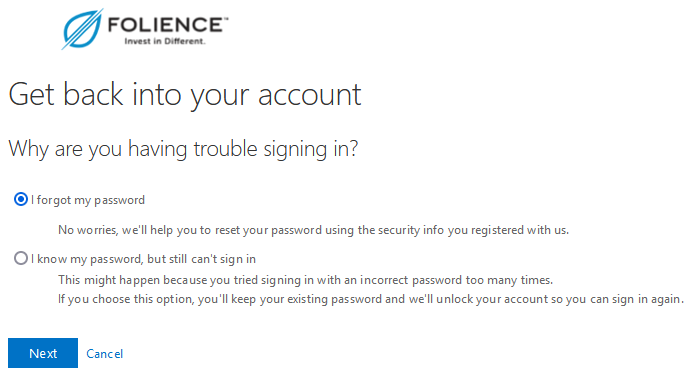
- Select the reason for your login issues

- Complete verification of your identity. You must verify your ID through two separate channels. For example, a text to your mobile number and a code to your authenticator app.


Once you have completed both identity challenges, you can enter your new password. You should proceed with the steps to cache the password as before.
Microsoft 365 Sharing Mobile Number With Coworkers
Employees who wish to be reachable by other employees while traveling, off work hours, or otherwise away from their computers may wish to make their mobile phone number known.
Feel free to mix and match from these options - they are not mutually exclusive. You may choose to do all or none of these.
There is no company requirement to share your mobile number with other employees.
Many members of staff have chosen to only be reachable at their company phone number and not to share their personal, private phone number with anyone. You may choose to install the Zoom app on your mobile device to allow you to make and receive calls from Zoom the same as you would from your computer. Alternatively, Zoom can be configured to simultaneously ring through to another number of your choice, effectively forwarding calls to your personal number.
If there are any questions about the specific requirements for your job duties, please discuss them with your manager.
Option 1 - Put your mobile number in your e-mail signature
Build your e-mail signature using the Folience Signature Builder tool. When filling out your information, be sure to fill in the mobile number and check the box next to the field.

When the checkbox is checked, the mobile phone field is included in the signature and able to be copied into Outlook.

Find full information on using the Signature Builder Tool by clicking here.
Option 2 - Have IT put your mobile number in your Exchange Online profile
The mobile number that appears in Outlook and Teams can be set by the IT team. This is may be useful to have populated because it is the number that will appear when someone searches for you in the Outlook Mobile App on their phone.
If you wish to have this number populated or updated, please send an e-mail to the helpdesk with the new number that you would like used and we will update it for you.
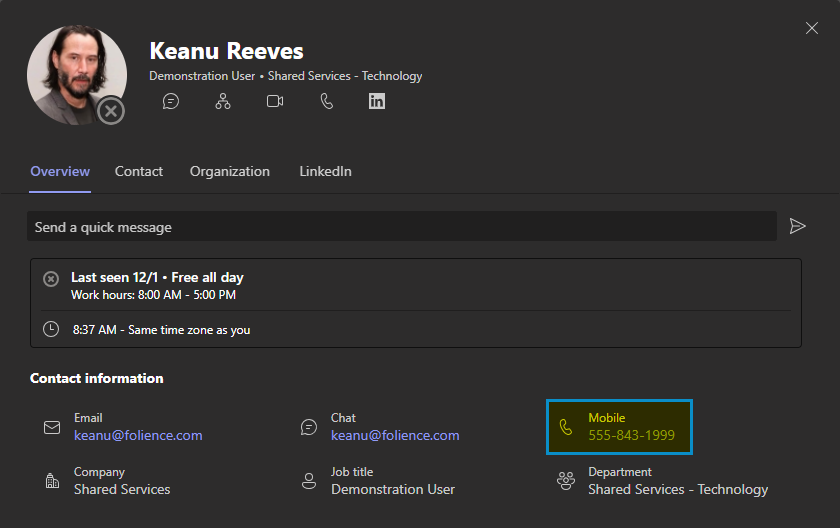
Option 3 - Put your mobile number in your Delve profile
Delve is your personal profile page in Microsoft 365 Online.
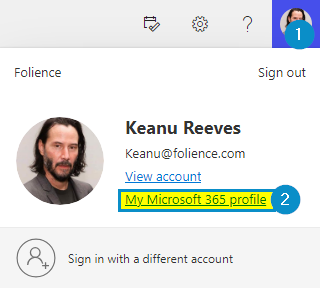
- To access this profile, navigate to https://www.office.com. Click your profile picture in the top right corner, then My Microsoft 365 profile.

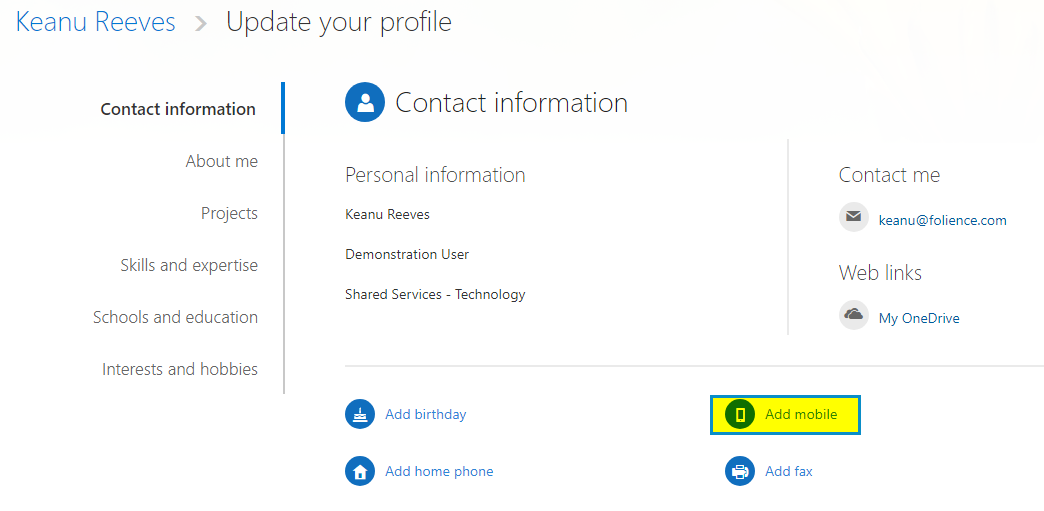
- Click the Update Profile button

- Click Add mobile

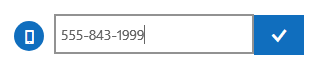
- Enter the number and click the check mark.

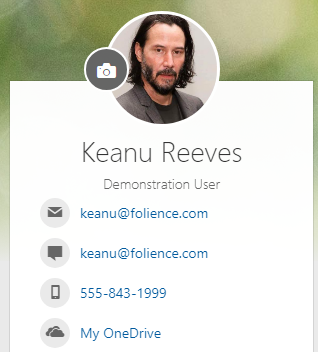
- Anyone checking your Delve profile in Office 365 will see your Mobile Number.