Microsoft 365
Information about Email and other Microsoft Products
- Microsoft 365 Email
- Email - Access Archive Mailbox
- Email - Add a shared mailbox to Outlook and O365
- Email - Add Profile Picture
- Email - Grant calendar permission to other users
- Email - Outlook Opening Links in Edge
- Email - Outlook Web Access (OWA) - Open Mailbox
- Email - Schedule Shared Resource
- Email - Search Folder - 'PersonMetaData'
- Email - Shared Mailbox on iOS
- Email - Signature Builder & Outlook Update
- Email - View Shared Resource Calendar
- Microsoft 365 Setup
- Microsoft 365 2FA Setup
- Microsoft 365 Change Password
- Microsoft 365 Sharing Mobile Number With Coworkers
- OneDrive
Microsoft 365 Email
Email - Access Archive Mailbox
Outlook Web Access
Login
Login to your Office365 account using your email address, network login, and two-factor authentication.
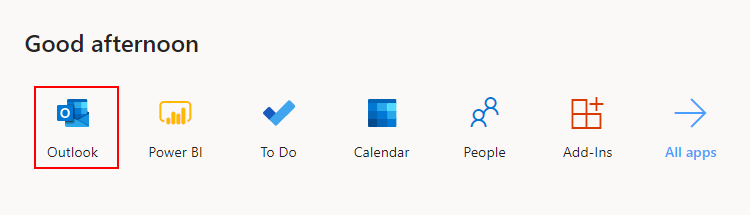
Outlook
Choose Outlook from your available applications.
In-Place Archive
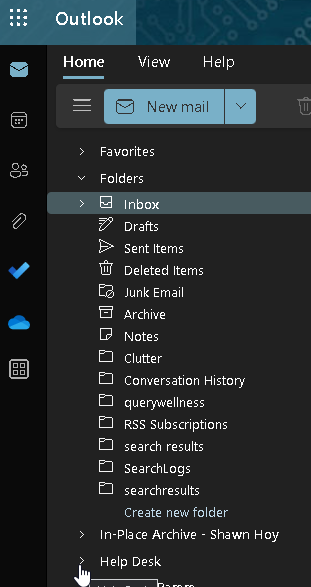
From the left rail, scroll down until you find your "In-Place Archive" mailbox.
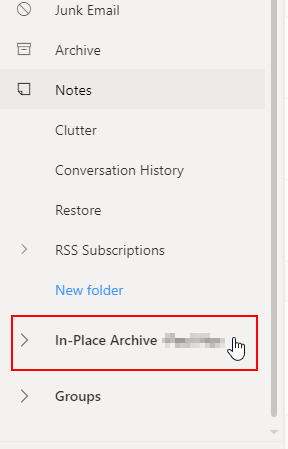
Expand the folder and you will see the contents of your archive mailbox.
Email - Add a shared mailbox to Outlook and O365
Adding a shared mailbox to Exchange
In Outlook, click file and select "Account settings"

Click on the Data Files tab, select your profile and then hit "settings"

Click on the Advanced tab, then click "add"

Type in the name or email address of the shared mailbox you'd like to add. Partial searches work as well. If there are more than one result, select the correct one

Select "OK" on the open windows and Close the "account settings" window.

Click on a folder name inside that mailbox to view the contents (Inbox or otherwise)

Adding a shared mailbox to O365
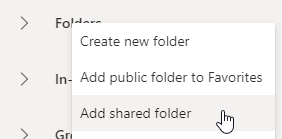
To add a mailbox to the online version of outlook, right click on "folders" and select "add shared folder"
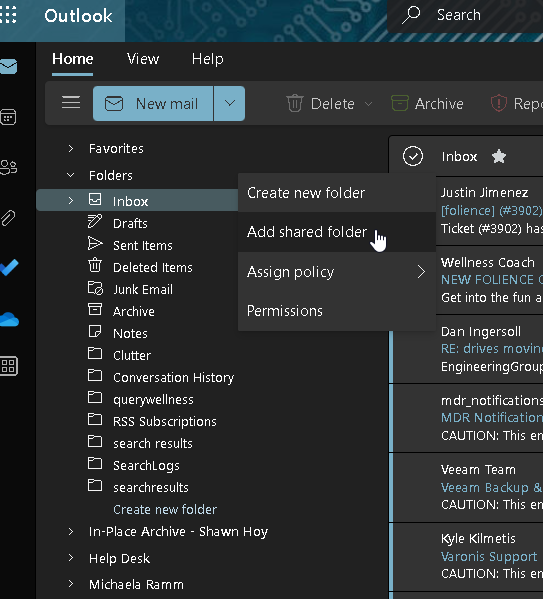
Start typing the name or email address of the mailbox you're trying to add, then select it and click "Add"
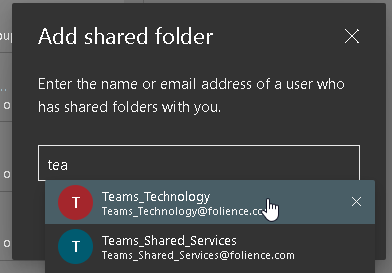
It will then show up under your mailboxes as an expandable option. Click the > carrot to expand.
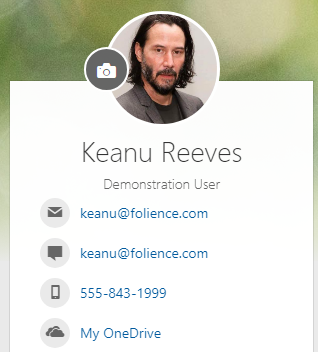
Email - Add Profile Picture
- Find a photo you want to use and store it on your computer.
- Sign into Office365 with your work account at https://office.com (typically your email address & network password).
- Select the circle in the upper right hand corner of the page that shows your initials or an icon of a person

- In the "My Accounts" pane, select the circle that shows your initials or icon of a person. Change your photo in the pop-up that appears.

The process to update Outlook images on a local device can take up to 48 hours per Microsoft.
Email - Grant calendar permission to other users
To add permissions to YOUR calendar so that others can view free/busy time, details, or edit your appointments, follow this guide.
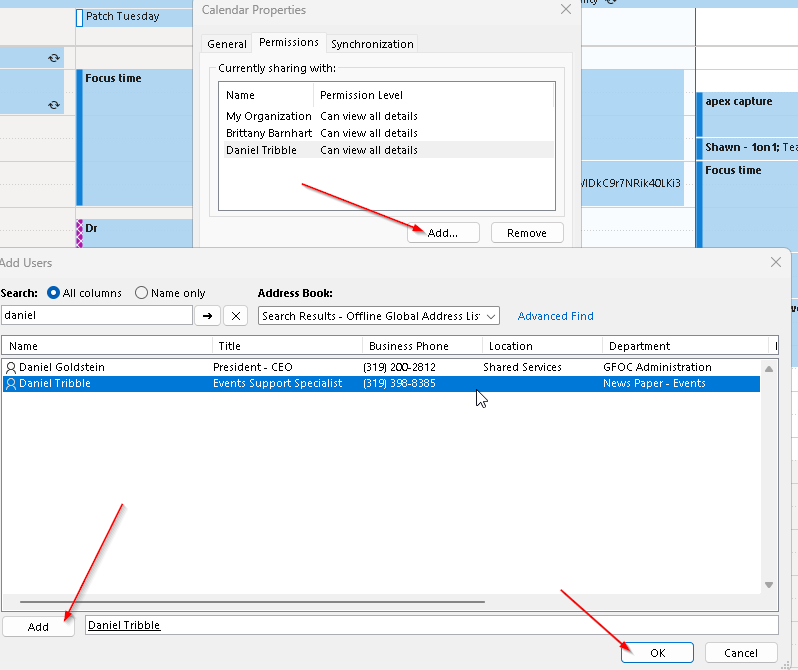
Open Outlook and view your calendar. Right click on your own calendar and select "properties"

Then click ADD and search for their name in the address list and hit ADD / OK to go back to the calendar properties page
Now click on that person and choose what level of permissions you want them to have on your calendar. Anything beyond “view all” gives the person the ability to change and add calendar appointments right on your calendar, so be careful about that (unless that’s what you want!)
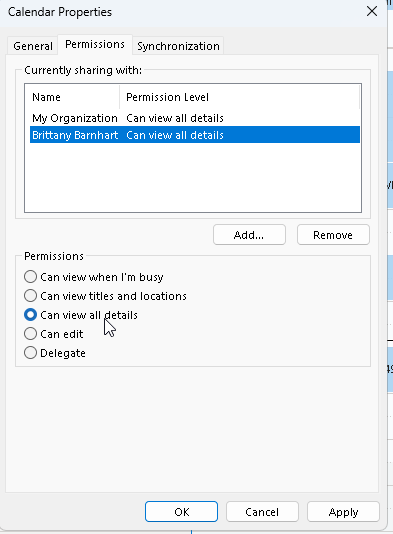
Hit OK/apply- they should now have access to whatever level of permission you gave them.
Email - Outlook Opening Links in Edge
Click "File" to open additional options.

Click "Options"

Click "Advanced" and choose "Default Browser" when opening hyperlinks.

Email - Outlook Web Access (OWA) - Open Mailbox
Outlook Web Access
Office365 for Outlook has the ability to access mailboxes via a web browser without using an Outlook mail client installed on a machine. To access this feature, you can navigate to https://office.com and login using your work email address and network password to gain access.
Outlook App
Choose the Outlook application.
From this option you can read, review, and respond to emails in your mailbox.
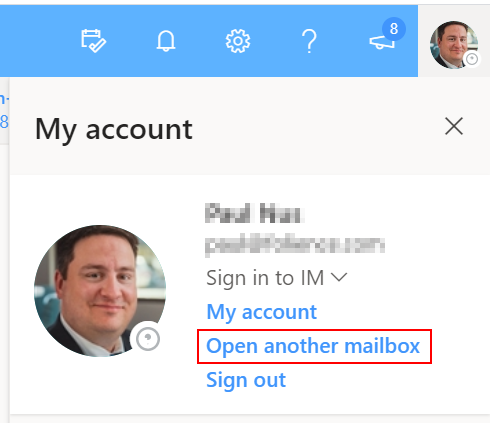
Open Another Mailbox
If you need to open a mailbox of someone else you have rights to or a shared mailbox without adding it to your primary inbox view, you can do so by going to the top right on your avatar and choosing "Open Another Mailbox..."
Search for the mailbox you want to open and click open.

Add Shared Folder
This section is OPTIONAL if you only want to view a folder of another mailbox (such as the inbox folder) inside your personal mailbox.
Email - Schedule Shared Resource
How to Schedule A Shared Resource in Outlook
Start Meeting or Appointment
In Outlook, you can start a new meeting or new appointment with the intention of reserving a resource such as a conference room.

Rooms...
If you are adding a room with a "Meeting", you can simply click the "Rooms" button to get a list of room resources.

Scheduling Assistant
If you are in an "Appointment" or "Meeting" you can use the scheduling assistant to also add the rooms.

Choose the rooms you want and click the "Rooms ->" button to add.

Add Attendees...
It is also possible from the scheduling assistant to search for and add a "Resources ->", such as a vehicle, to the invitation.

Verify Open
The scheduling assistant will also show you meetings on the calendar that you or others have scheduled to avoid conflicts. Meetings marked as "Private" will not publicly show the details but will show as blocked off from scheduling.

Rejections
Most resources that are setup for scheduling will reject the meeting and send notice if there is a conflict. Please pay special attention to any failures to reserve a resource. The meeting will still be accepted on YOUR personal calendar but rejected on the resource calendar. This can cause some awkward situations where a room is double booked and both attendees know they reserved the room. The first person to reserve the room gets the reservation.
Email - Search Folder - 'PersonMetaData'
About
There is an issue in Outlook for Search Folders that shows blank emails. This is a known issue with searches and requires a work-around to continue to use this for stuff such as "Unread Mail". There is no known ETA when this will be fixed by Microsoft.
Work-Around
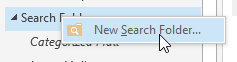
To manually fix this you will need to create a custom search. Right-click "Search Fields" in Outlook and choose "New Search Folder..."
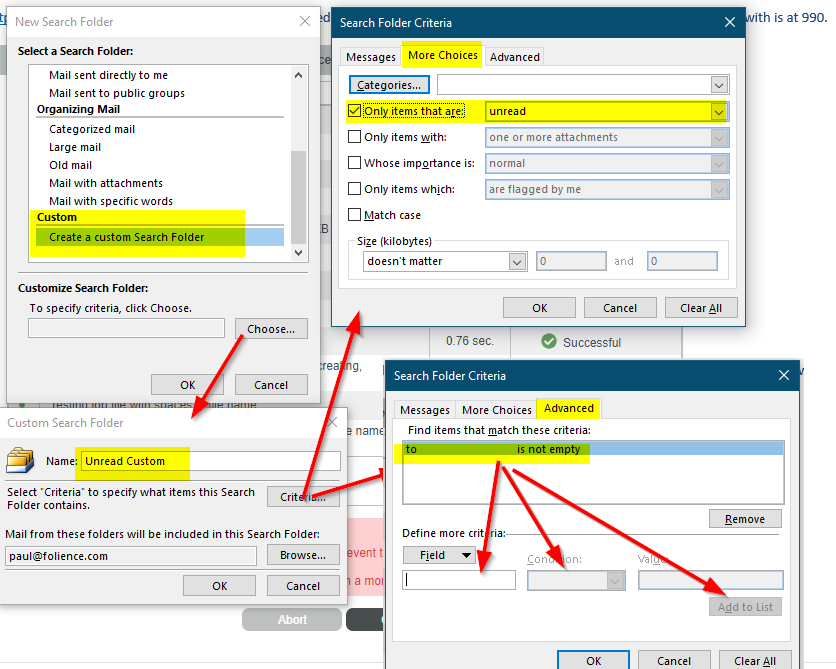
Scroll to the bottom and choose "Create a custom Search Folder"
Click "Choose..."
Give it a Name, such as "Unread Custom"
Click "Criteria"
Click "More Choices" tab and select "Only items that are:" and "unread"
Click on "Advanced" tab and choose the "To" field where "is not empty" and "Add To List"
Choose "Browse..." to limit the search criteria.
Choose "Inbox" instead of everything which will ignore deleted items.
Make sure "Search subfolders" remains selected.

Email - Shared Mailbox on iOS
Summary
Step-by-step
- Go to Settings > Mail > Add account (in iOS 11 go to Settings > Accounts & Passwords > Add account).
- Select Other from the list of types.
- Tap Add Mail Account.
- Enter a name for the mail account (e.g. SU Shared Mailbox)
- Enter the email address of the shared mailbox
- Enter the password of a mailbox that has access to the shared mailbox (e.g. your own password)
- Enter a description for the mailbox (e.g. Shared Departmental Mailbox)
- Tap Next.
- Select IMAP
- Fill in the following:
Under Incoming Mail Server
Host Name: outlook.office365.com
User Name: mailbox@domain.com
Password: Your email’s password
Under Outgoing Mail Server
Host Name: smtp.office365.com
User name: mailbox@domain.com
Password: Your email’s password - Tap Next, then tap Save.
- In the next screen, choose which items to sync (generally just emails)
- Tap Save.
- Exit Settings and start the Mail app.
Email - Signature Builder & Outlook Update
This documentation describes how to build an email signature from a template builder website and add a signature in Outlook.
This documentation only focuses on Outlook for Windows. The online or Mac version of Outlook will not be addressed in this documentation.
URL
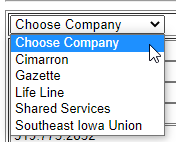
Choose Company
By default, all company signatures are shown on the landing page. Choose your company in the dropdown box.
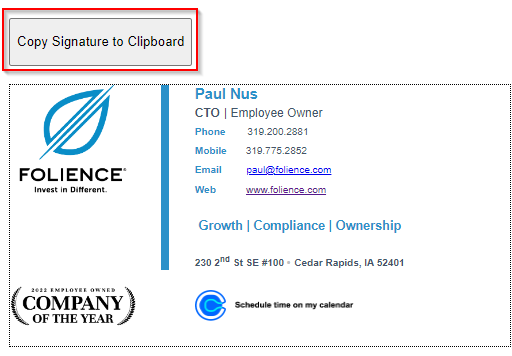
Fill Out & Copy
The information that 's built into the signature is different between companies. Some fields are taken away or added based on the company selection. You will fill in the information of the requested fields (Name Title, Email, Phone, etc...) for the company you have selected.

You may also choose to include pronouns by adding them after your name. Ex. John Doe (He/Him)
The check box to the immediate right of the fields allows you to add/remove that field if you desire.
The information in the signature will update in real-time as you type so you can see what it will look like.
It is possible that when the signature is copied & pasted into Outlook, some of the formatting will be slightly changed. While it will be close, it is difficult to replicate a signature in Outlook from a web page exactly as it is shown.
Once you have completely filled out the information, you will choose "Copy Signature To Clipboard" directly above the signature you want to copy into your clipboard.
Paste Into Outlook Signature
The easiest way to get to your signatures is to start a new email to bring up the option to get to your signatures options.
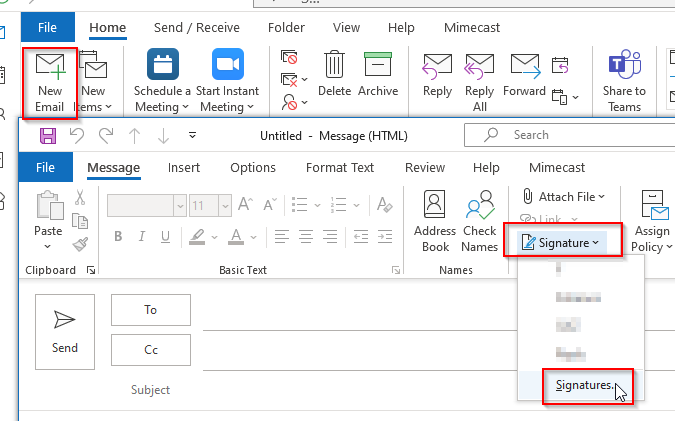
New
You may choose to clear out your existing signature and paste (CTRL+ALT+V) from your clipboard if you have an existing email signature you would like to overwrite.
Due to ease of creating new signatures and issues that may occur when deleting old information, our recommendation is to create a new email signature and give it a new name. Ex: CoY
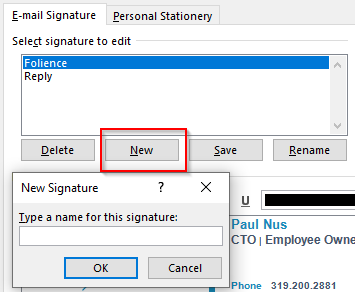
Change your "New messages" signature to the name you just created and paste (CTRL+ALT+V) or (Right-Click - Paste) into the signature field from what is saved in your clipboard.
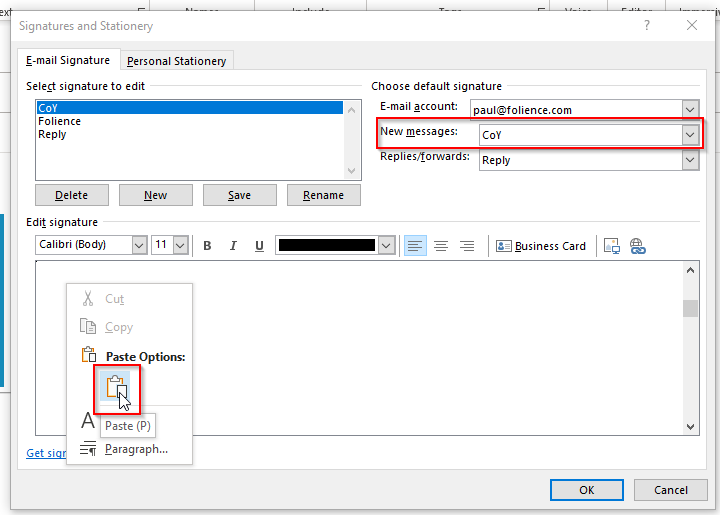
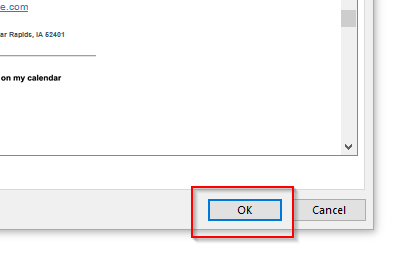
Click "OK" to complete the change.
Email - View Shared Resource Calendar
In Outlook, go to the Calendar View and click on Open Calendar in the Ribbon:

In the drop down, select From Room List…

Find the Room calendar you would like to add to your Outlook profile, click on it, click Rooms -> and click OK

The calendar should now show up on the left of your Outlook Calendar View:

Microsoft 365 Setup
Microsoft 365 2FA Setup
Set up 2-step verification for Office 365
Once your admin enables your organization with 2-step verification (also called multi-factor authentication), you have to set up your account to use it.
By setting up 2-step verification, you add an extra layer of security to your Office 365 account. You sign in with your password (step 1) and a code sent to your phone (step 2).
-
Check whether your Office 365 admin has turned on multi-factor authentication for your account. If they haven't, when you try to do these steps you won't see the options in Office 365.
-
Sign in to Office 365 with your work or school account with your password like you normally do. After you choose Sign in, you'll see this page:

-
Choose Set it up now.
-
Select your authentication method and then follow the prompts on the page. Or, watch the video to learn more.
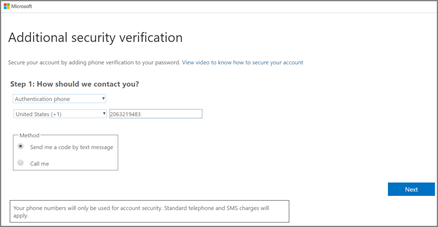
-
After you verify your alternate contact method, choose Next.
-
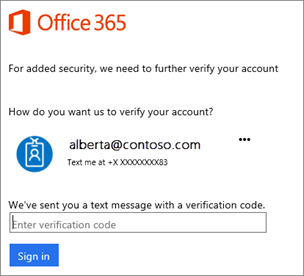
Once you complete the instructions to specify how you want to receive your verification code, the next time you sign in to Office 365, you'll be prompted to enter the code that is sent to you by text message, phone call, etc.
To have a new code sent to you, press F5.
We strongly recommend setting up more than one verification method. For example, if you travel a lot, consider setting up Microsoft Authenticator for your verification method. It's the easiest verification method to use, and a way to avoid text or call charges.
Microsoft 365 Change Password
About
This document describes the steps needed to reset password through Azure to write-back to domain controller.
Microsoft Login
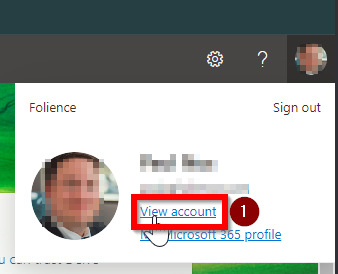
Login to https://office.com or simply go to https://myaccount.microsoft.com/ to get to change password option.
You can click "View Account" if you are already logged in and want to click to the page.
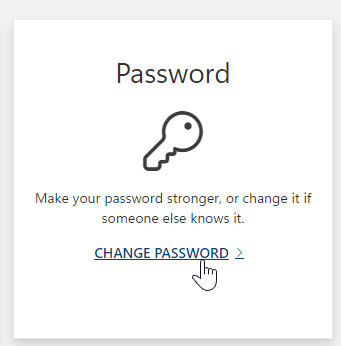
Change Password
Choose the change password option
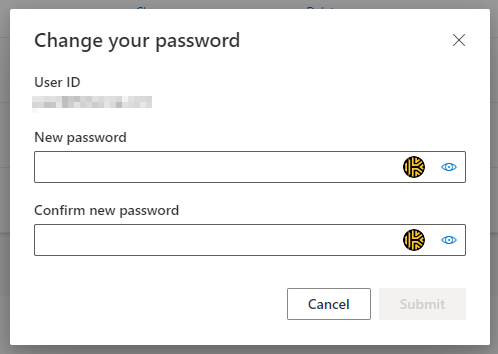
Enter new password and submit.
Please open a help.desk@folience.com ticket if you run into any issues. Upon success, you may need to re-authorize your Microsoft logins.
Cache Your Password
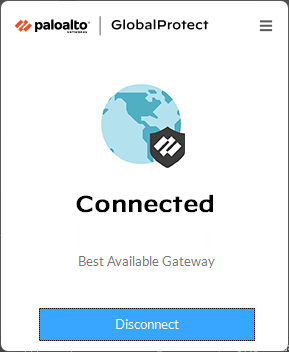
Your password has been changed successfully and has been recorded. However, if you have a laptop and connect using the VPN, your laptop won't know you have changed your password the next time you go to unlock it or log into it.
- Ensure you are connected to the VPN

- Lock your PC by pressing the Windows Key and L at the same time
- Immediately unlock the PC again by entering the new password you just created in the above step
You can now log into your laptop with the new password, even if it does not have an internet connection.
Forgotten Password
If you have forgotten your password and need to change it, you can now reset your own password with Self Service Password Reset.
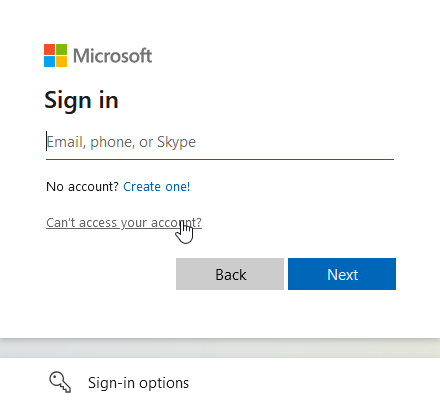
- Navigate to https://office.com or simply go to https://myaccount.microsoft.com/ to begin the process.
- Click Can't access your account?

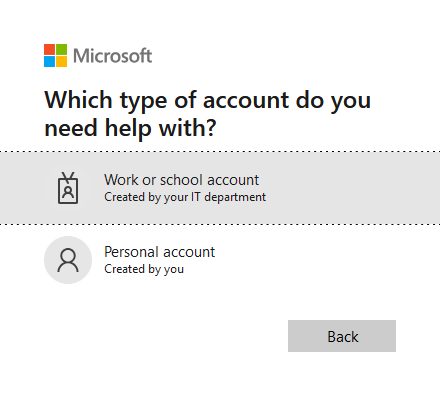
- Click Work or school account

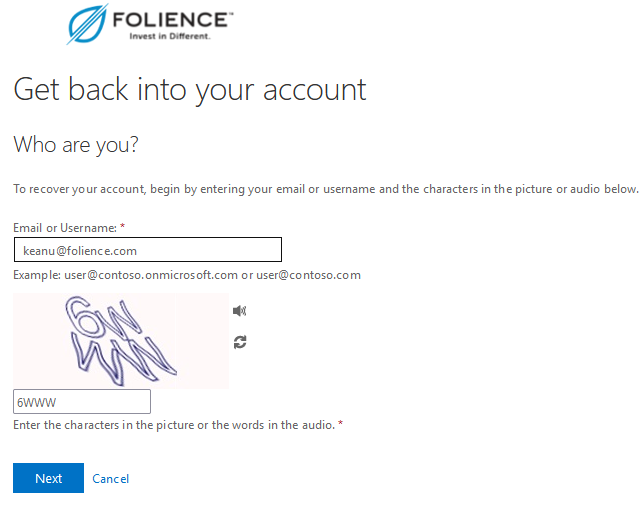
- Enter your e-mail address and complete the captcha to prove you are human

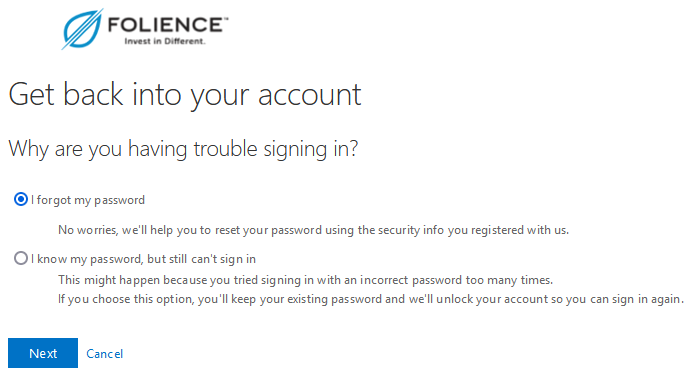
- Select the reason for your login issues

- Complete verification of your identity. You must verify your ID through two separate channels. For example, a text to your mobile number and a code to your authenticator app.


Once you have completed both identity challenges, you can enter your new password. You should proceed with the steps to cache the password as before.
Microsoft 365 Sharing Mobile Number With Coworkers
Employees who wish to be reachable by other employees while traveling, off work hours, or otherwise away from their computers may wish to make their mobile phone number known.
Feel free to mix and match from these options - they are not mutually exclusive. You may choose to do all or none of these.
There is no company requirement to share your mobile number with other employees.
Many members of staff have chosen to only be reachable at their company phone number and not to share their personal, private phone number with anyone. You may choose to install the Zoom app on your mobile device to allow you to make and receive calls from Zoom the same as you would from your computer. Alternatively, Zoom can be configured to simultaneously ring through to another number of your choice, effectively forwarding calls to your personal number.
If there are any questions about the specific requirements for your job duties, please discuss them with your manager.
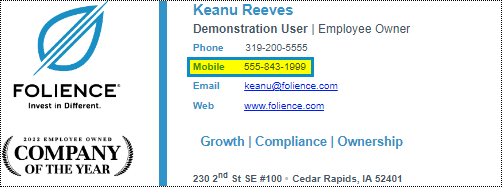
Option 1 - Put your mobile number in your e-mail signature
Build your e-mail signature using the Folience Signature Builder tool. When filling out your information, be sure to fill in the mobile number and check the box next to the field.

When the checkbox is checked, the mobile phone field is included in the signature and able to be copied into Outlook.
Find full information on using the Signature Builder Tool by clicking here.
Option 2 - Have IT put your mobile number in your Exchange Online profile
The mobile number that appears in Outlook and Teams can be set by the IT team. This is may be useful to have populated because it is the number that will appear when someone searches for you in the Outlook Mobile App on their phone.
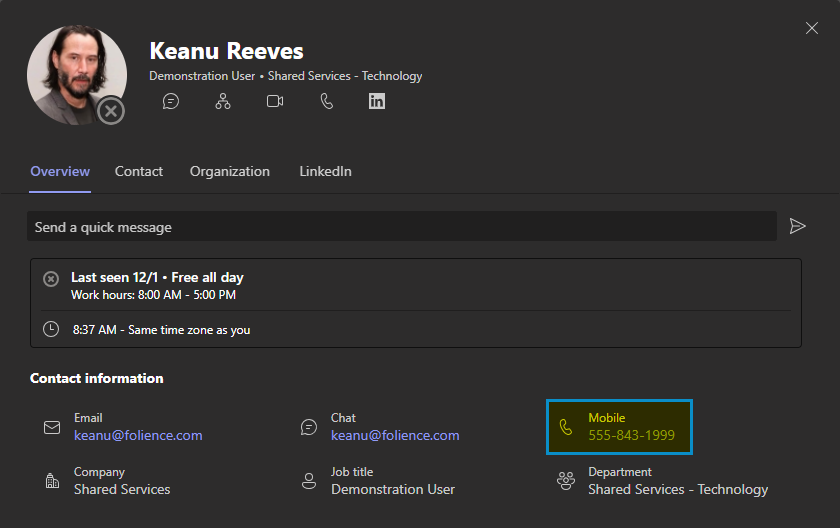
If you wish to have this number populated or updated, please send an e-mail to the helpdesk with the new number that you would like used and we will update it for you.
Option 3 - Put your mobile number in your Delve profile
Delve is your personal profile page in Microsoft 365 Online.
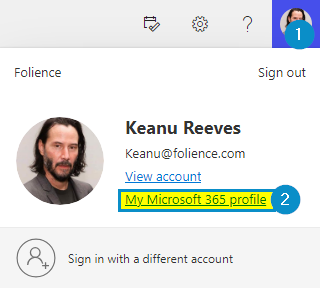
- To access this profile, navigate to https://www.office.com. Click your profile picture in the top right corner, then My Microsoft 365 profile.

- Click the Update Profile button

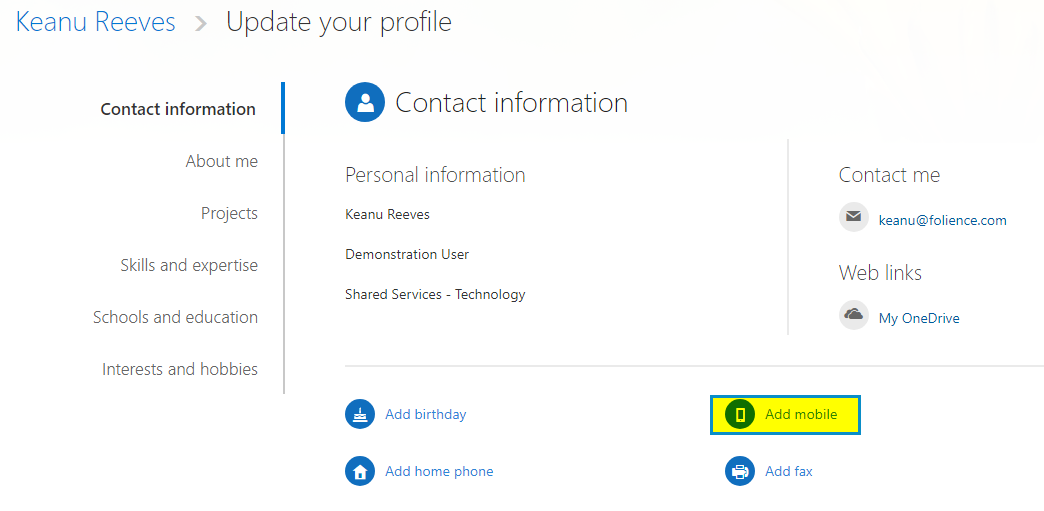
- Click Add mobile

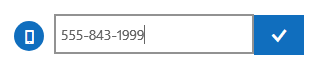
- Enter the number and click the check mark.

- Anyone checking your Delve profile in Office 365 will see your Mobile Number.