OneDrive
What OneDrive is and how to use it.
- Accessing OneDrive in the web portal
- Sharing Files and Folders - Web Portal
- Sharing Files and Folders - Windows
- Syncing Your Files to OneDrive
- Uploading Single Files or Folders
- Using OneDrive From File Explorer
- Request Files from another person
Accessing OneDrive in the web portal
OneDrive is apart of the office365 environment, this means it can be accessed by logging into the office web portal. You can reach that page from either email.folience.com or office.com and you'll be prompted to login.
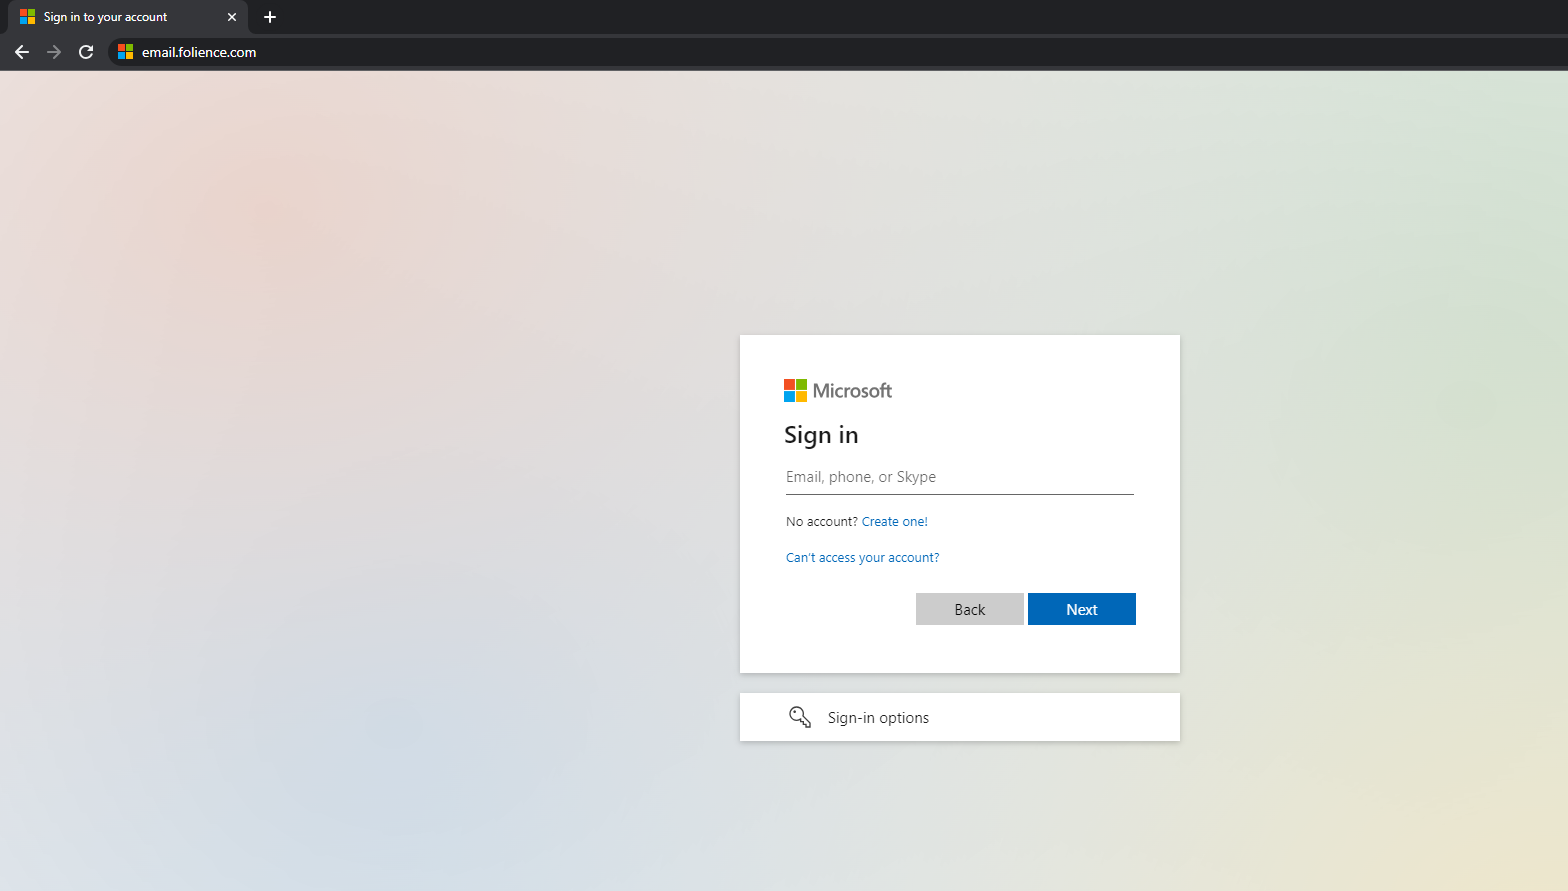
- Navigate to email.folience.com or office.com in your web browser (Chrome, Edge, Firefox, etc.)

- Login using you business email credentials.

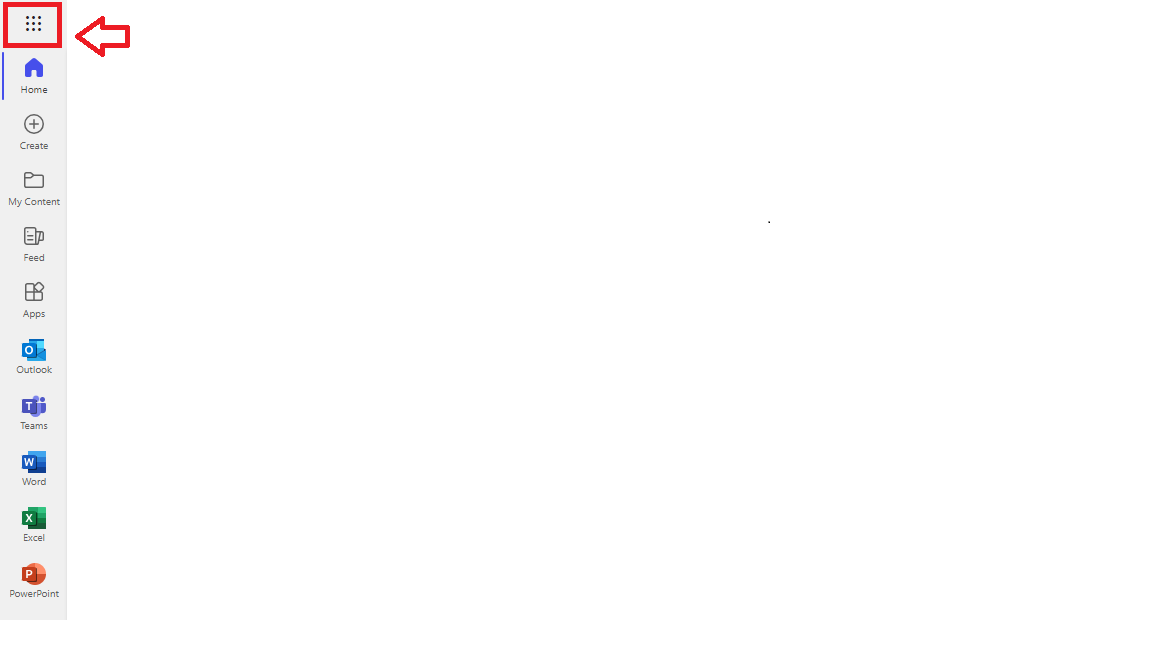
- Open the application tray and select OneDrive.

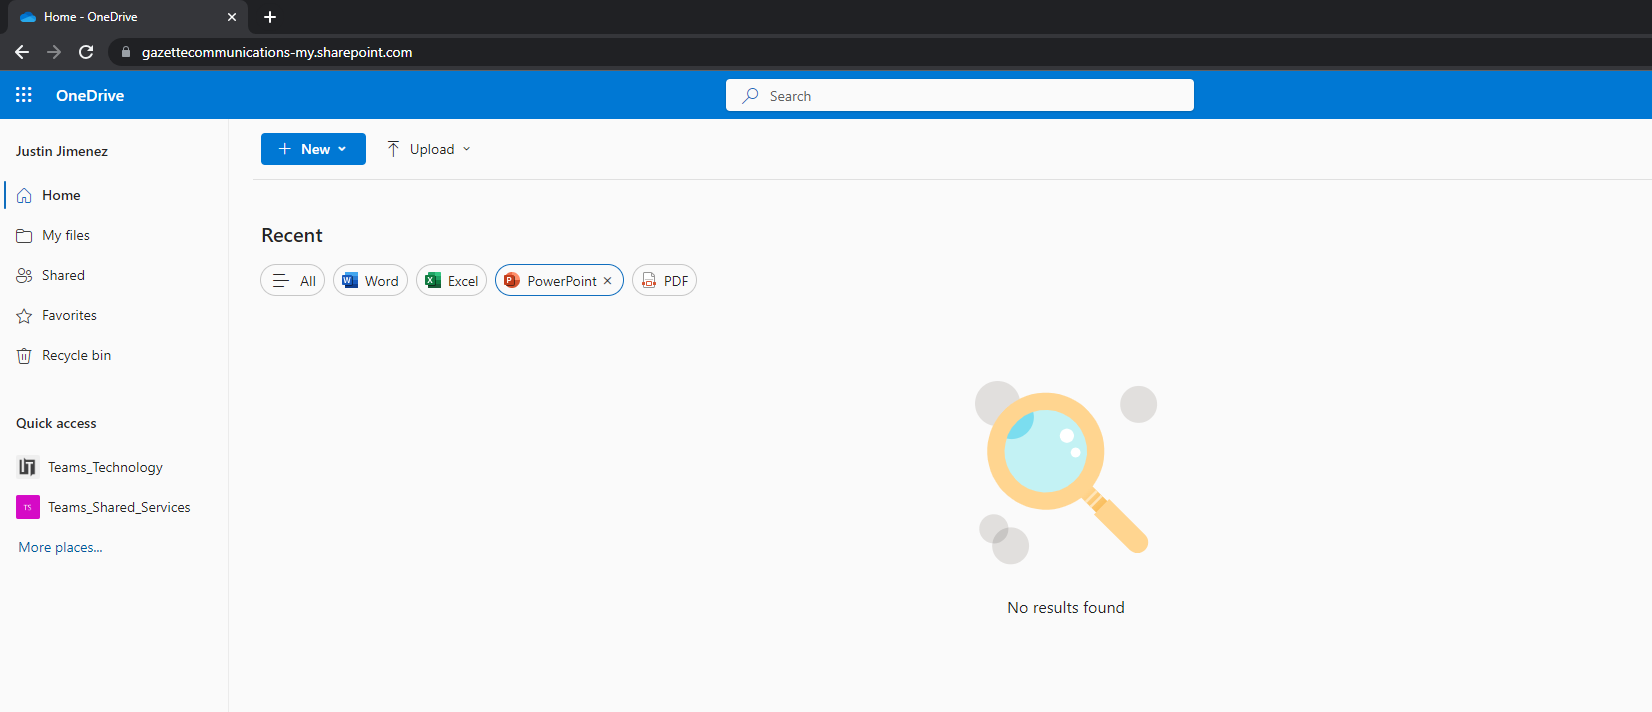
- You may now upload any files you'd like to keep in your OneDrive or begin syncing with your machine.


Sharing Files and Folders - Web Portal
Once you have logged into the Web Portal (https://office.com) properly you can select which files you'd like to share or even grant others access to edit specific folders with you.
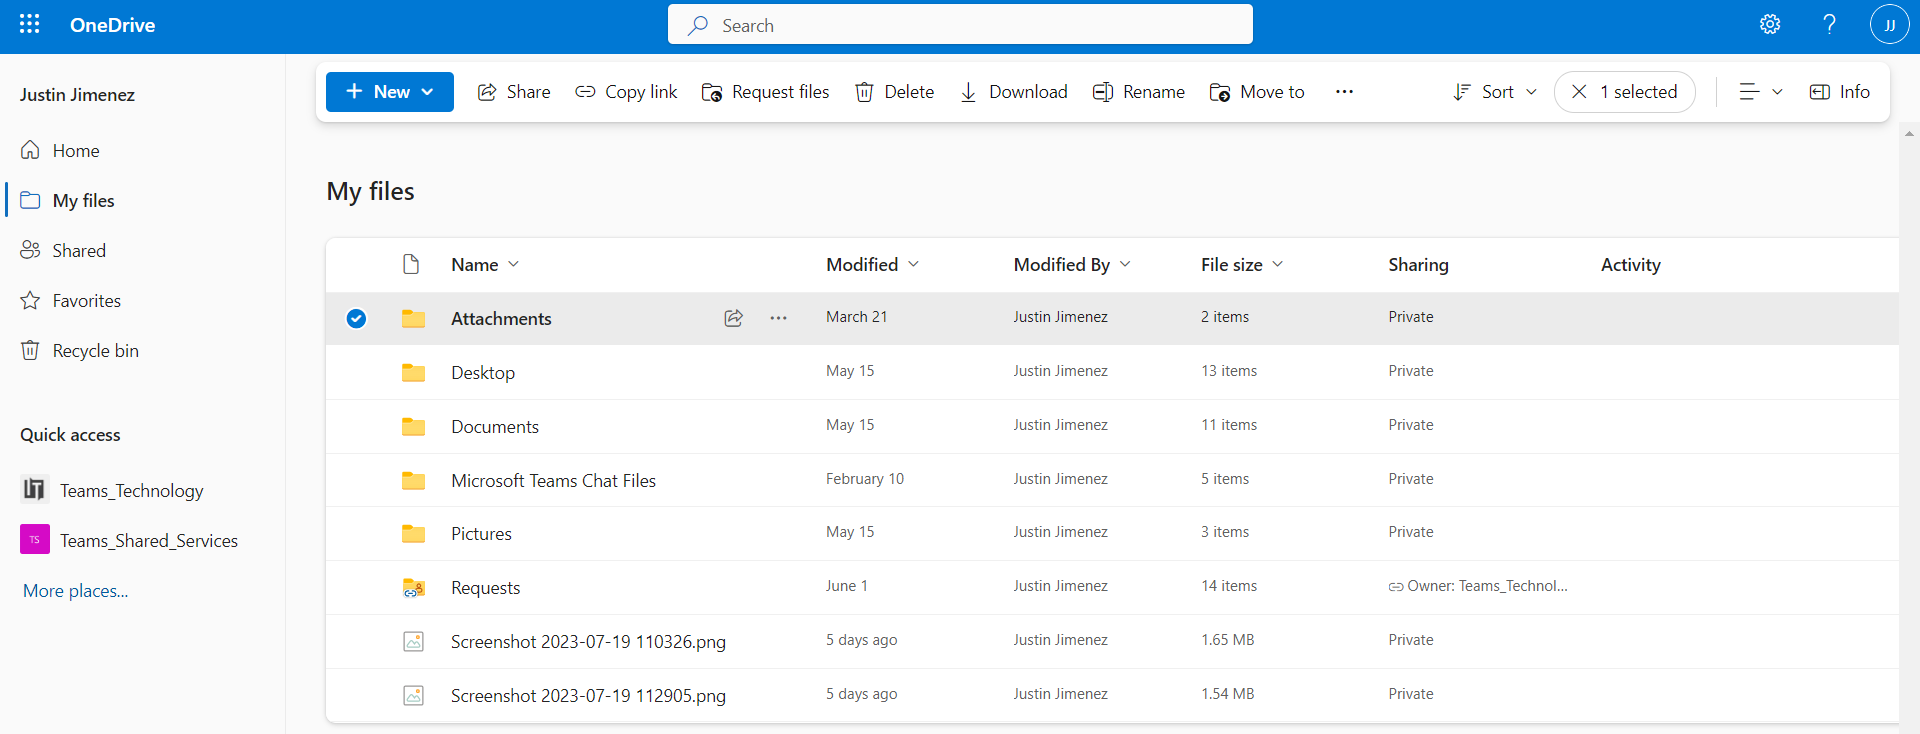
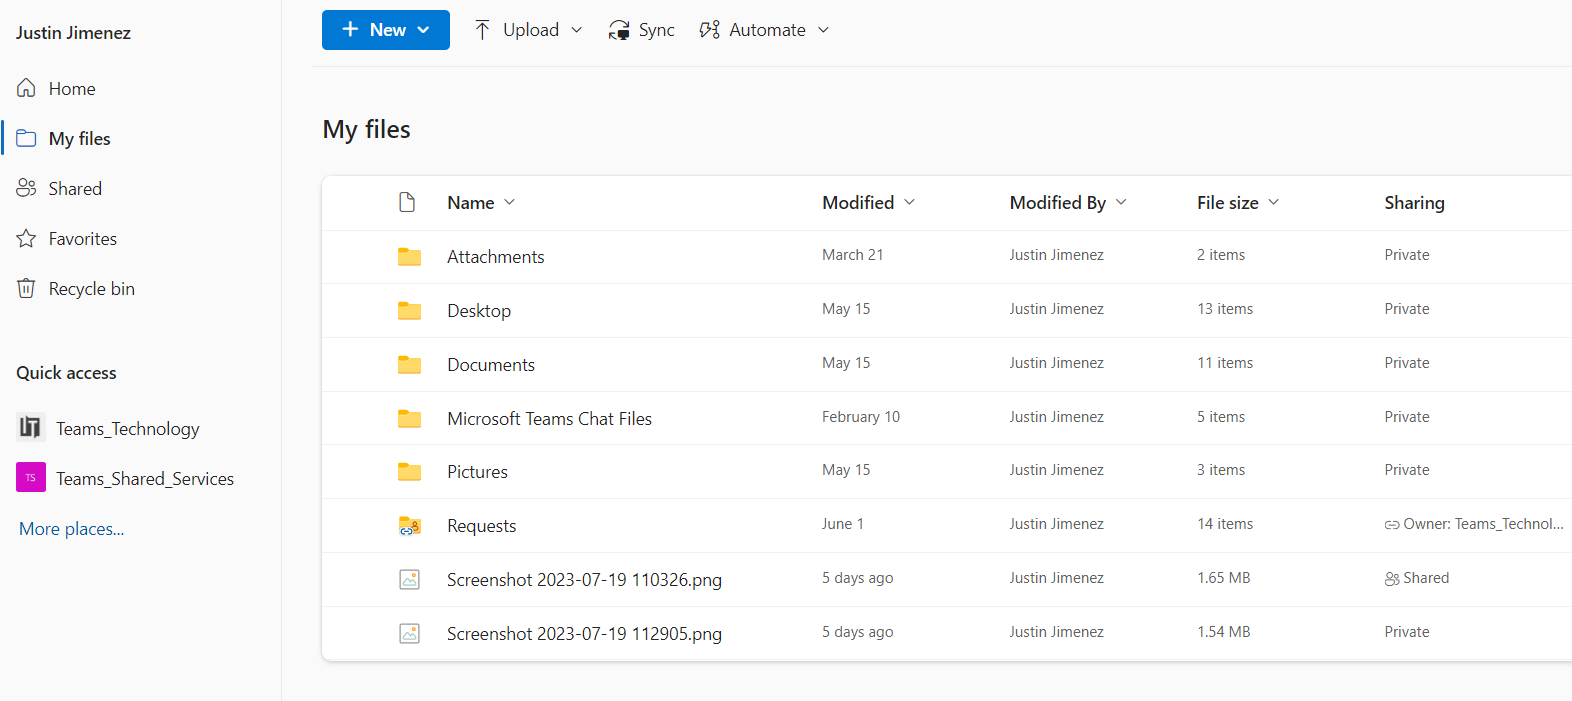
- Enter your "My Files" tab from the option on the left hand side.

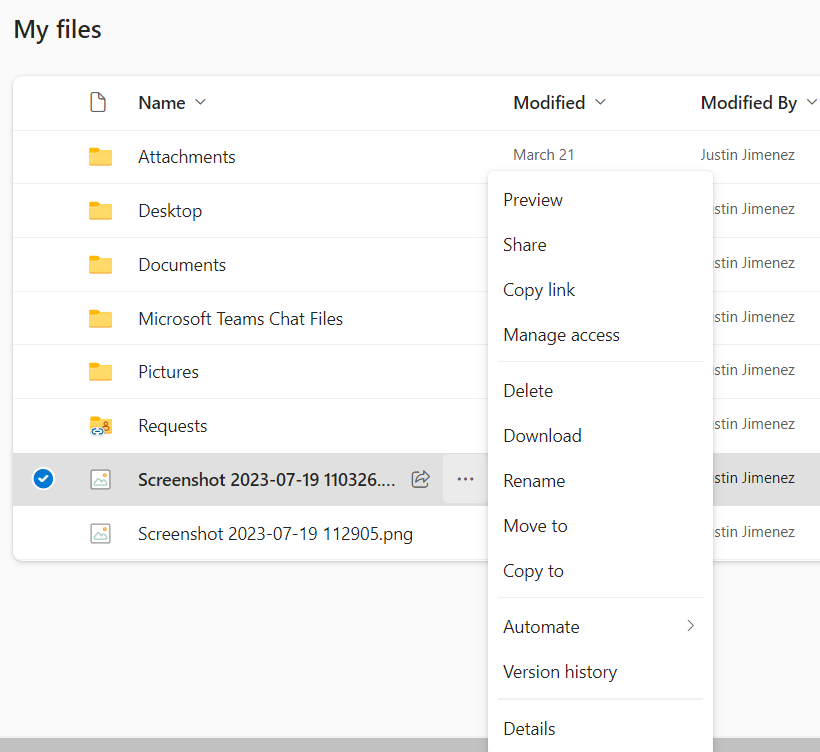
- If you hover your cursor over these files you will see three dots appear next to the file/folder. If you select this you will have an options menu appear.

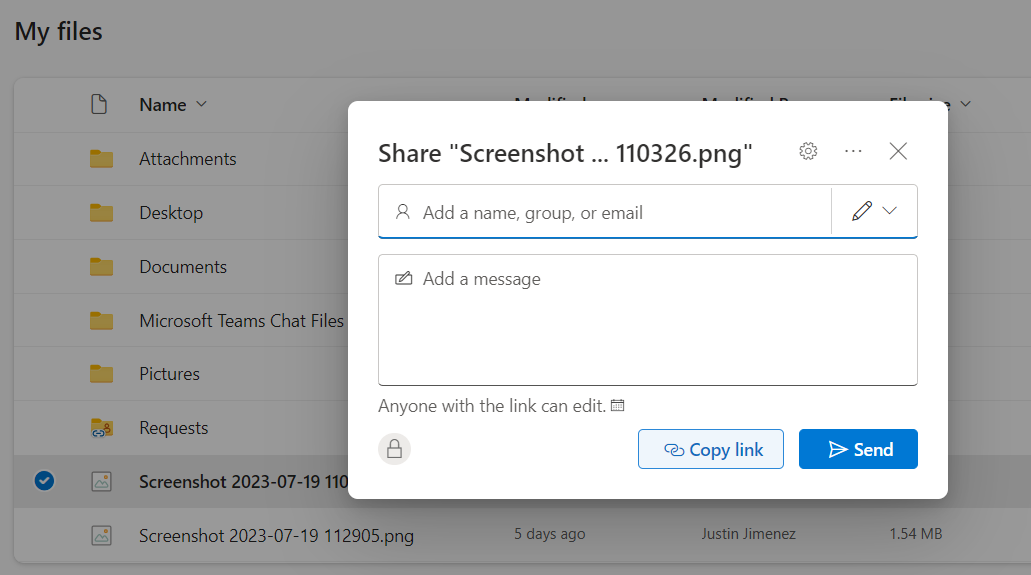
- If you select share you will have a window open giving you share options. You can list emails here or you may search for peoples names if they are already existing in your Outlook contacts list. You can also grab the specific link to this folder here by selecting copy link.

- By selecting the gear in the top right hand side of this window you will be given further option on how the access to this file is handled.

- You may also select the three dots in the top right if you'd prefer to open outlook instead and share access using outlook. Selecting this opens outlook and creates a copy of the file link in a blank email for you to send.


Sharing Files and Folders - Windows
One advantage to storing files in OneDrive is the ability to share files without sending them as attachments.
Scenario: I am creating a report and I need to know how many units we sold. I have most of the information but I am missing quantities for 3 products overseen by another team.
Before now, I would have had two options for solving this problem.
- E-mail the spreadsheet as an attachments to the person or team who has the information, wait for them to fill it out and return it to me, and merge their changes into my document. Or...
- Save the file to a network location and ask the person or team to fill it out there.
If I E-mailed the document, I would have to wait for a response before I could proceed. If I made any other changes in the meantime, I had to be careful in creating the final document. If I saved the file to the network, then only one person could open and edit the file at a time, so I might lock out the colleague I asked to add information - or they might lock me out.
With files in the Cloud, these issues are resolved. I can now store the file in OneDrive and share it by right-clicking the file, then choosing OneDrive > Share.

Once I do this, I am asked who I want to share the file with, and how. By default, the behavior is to give everyone I enter into this box edit rights. I can either add an e-mail address and a message and send an e-mail with the Send button...
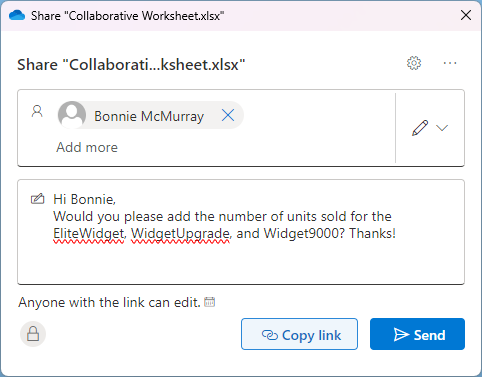
Or click the Copy link button and send it through Teams, Zoom Chat, or any other method of delivery.
The default behavior of Anyone with the link can edit opens me up to potential risk of the file being shared with more people than I would like. Bonnie could forward this message to anyone else, including someone outside the company. As a safeguard, these links expire automatically after 90 days.
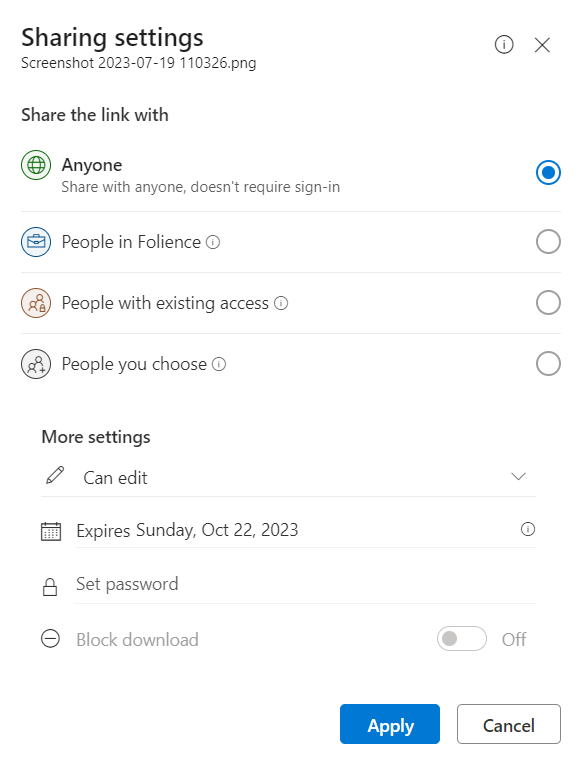
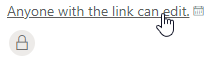
To avoid this, I need to make some additional changes to the share. Clicking where it says Anyone with the link can edit will allow me to modify these settings.
Now I can narrow down access considerably.

- I could allow Bonnie to share with people in my organization but not with any external recipients with People in [Organization] (the organization shown will depend upon where you work).
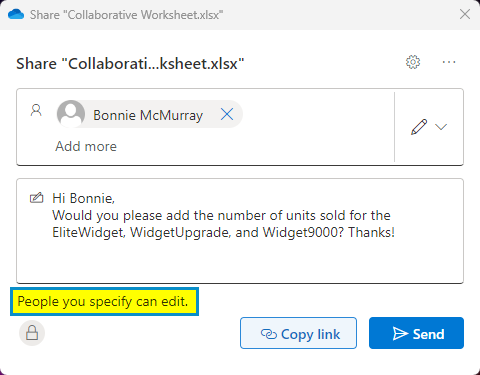
- I could allow only people I specified (in this case, only Bonnie) with People you choose.
In this scenario I need Bonnie to edit the document but if I want the recipient to only be able to review the document, I can also change Can edit to Can view to prevent them from making changes.

Once I hit Apply, my changes to how I am sharing the document are reflected and I am ready to hit Send.
With files in the cloud, it's fast and easy to share files with colleagues and contacts!
Syncing Your Files to OneDrive
To begin syncing your files to OneDrive we're going to begin the sync manually from the website. To access the web portal for OneDrive follow this guide first.
- Once logged into OneDrive you will navigate to your "My Files" tab.

- Under the "My Files" tab there is an option at the top that says sync. Select it.

-
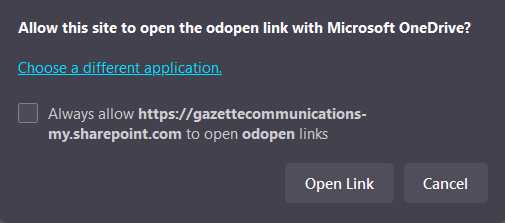
You will receive a prompt from your browser asking for permission to open OneDrive. Hit "Open Link" and OneDrive.

-
You sync should now be running in the background from your default folders of Desktop, Documents and Downloads. Your files may also now have icons appear next to them both on your desktop and in your file explorer. You can find what all those different status icons mean here.


Uploading Single Files or Folders
If there are any specific files or folders that are not already existing in any of your synced drives, you may use this option to upload them once instead of adding it as a synced folder.
- Enter your "My files" tab on the left hand side of your web portal.

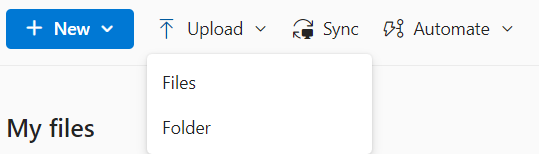
- You can now hit the "Upload" Option found at the top. It will now give you the option to select if you want to upload either a file or folder. Select which item you wish to upload.

- Once you select which item you'd like to upload you will have a window of your file explorer open. You can now select whatever it is you'd like to upload and select open. This will now upload a copy to your OneDrive.
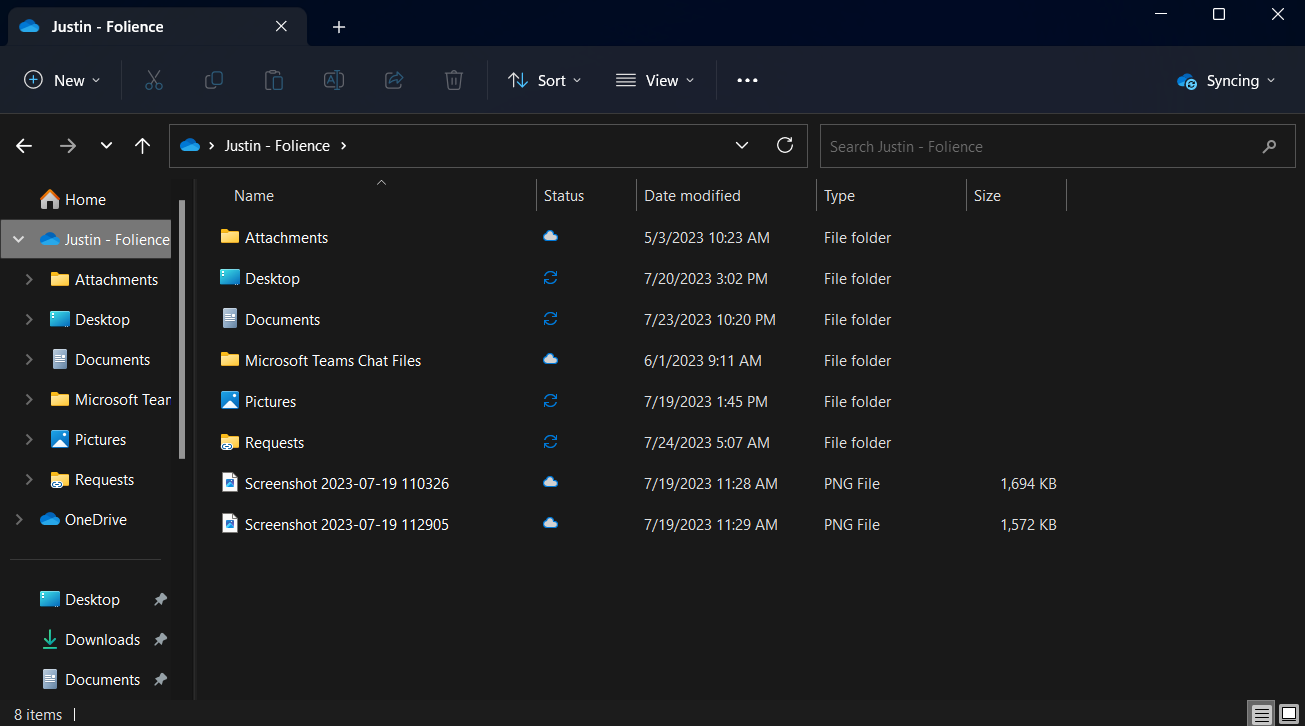
Using OneDrive From File Explorer
Once your OneDrive has syncing properly setup and running you should now be able to interact with your cloud folders from within your File Explorer.
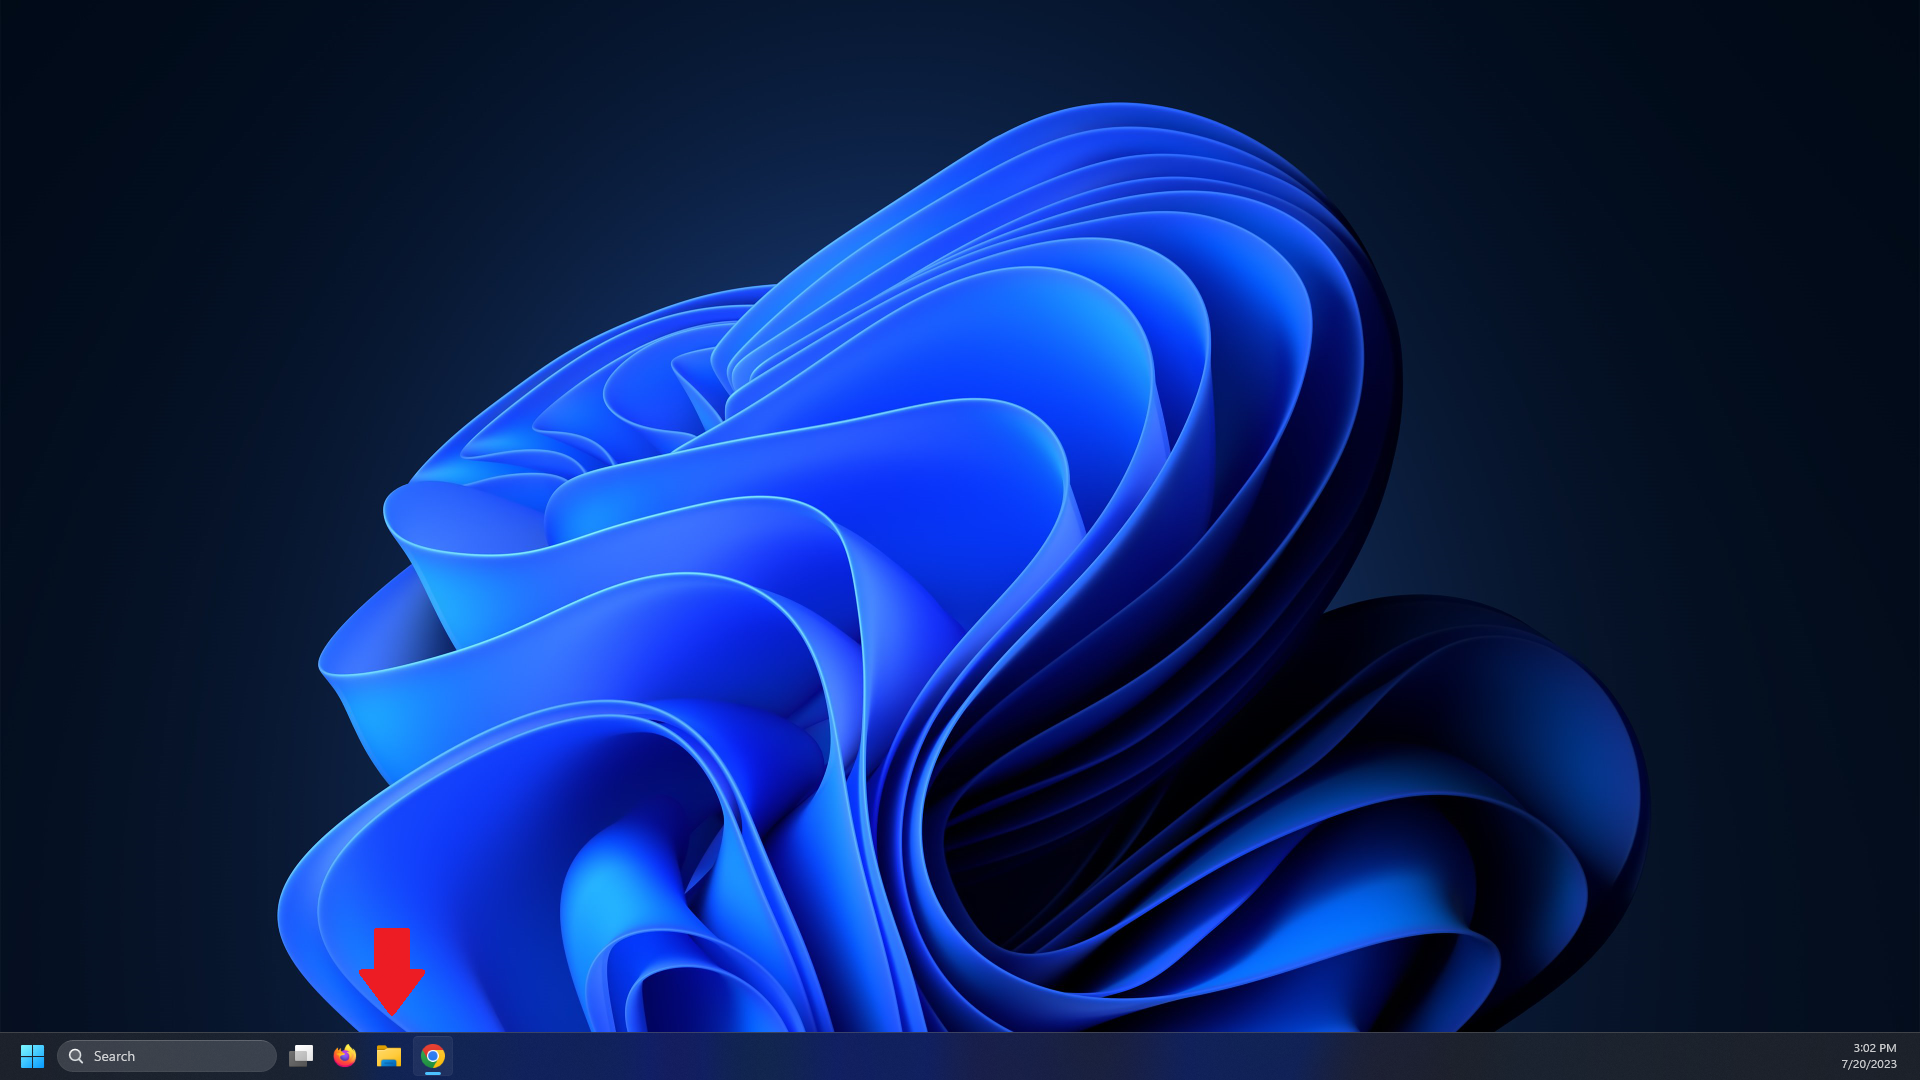
- Launch your file explorer from your desktop.

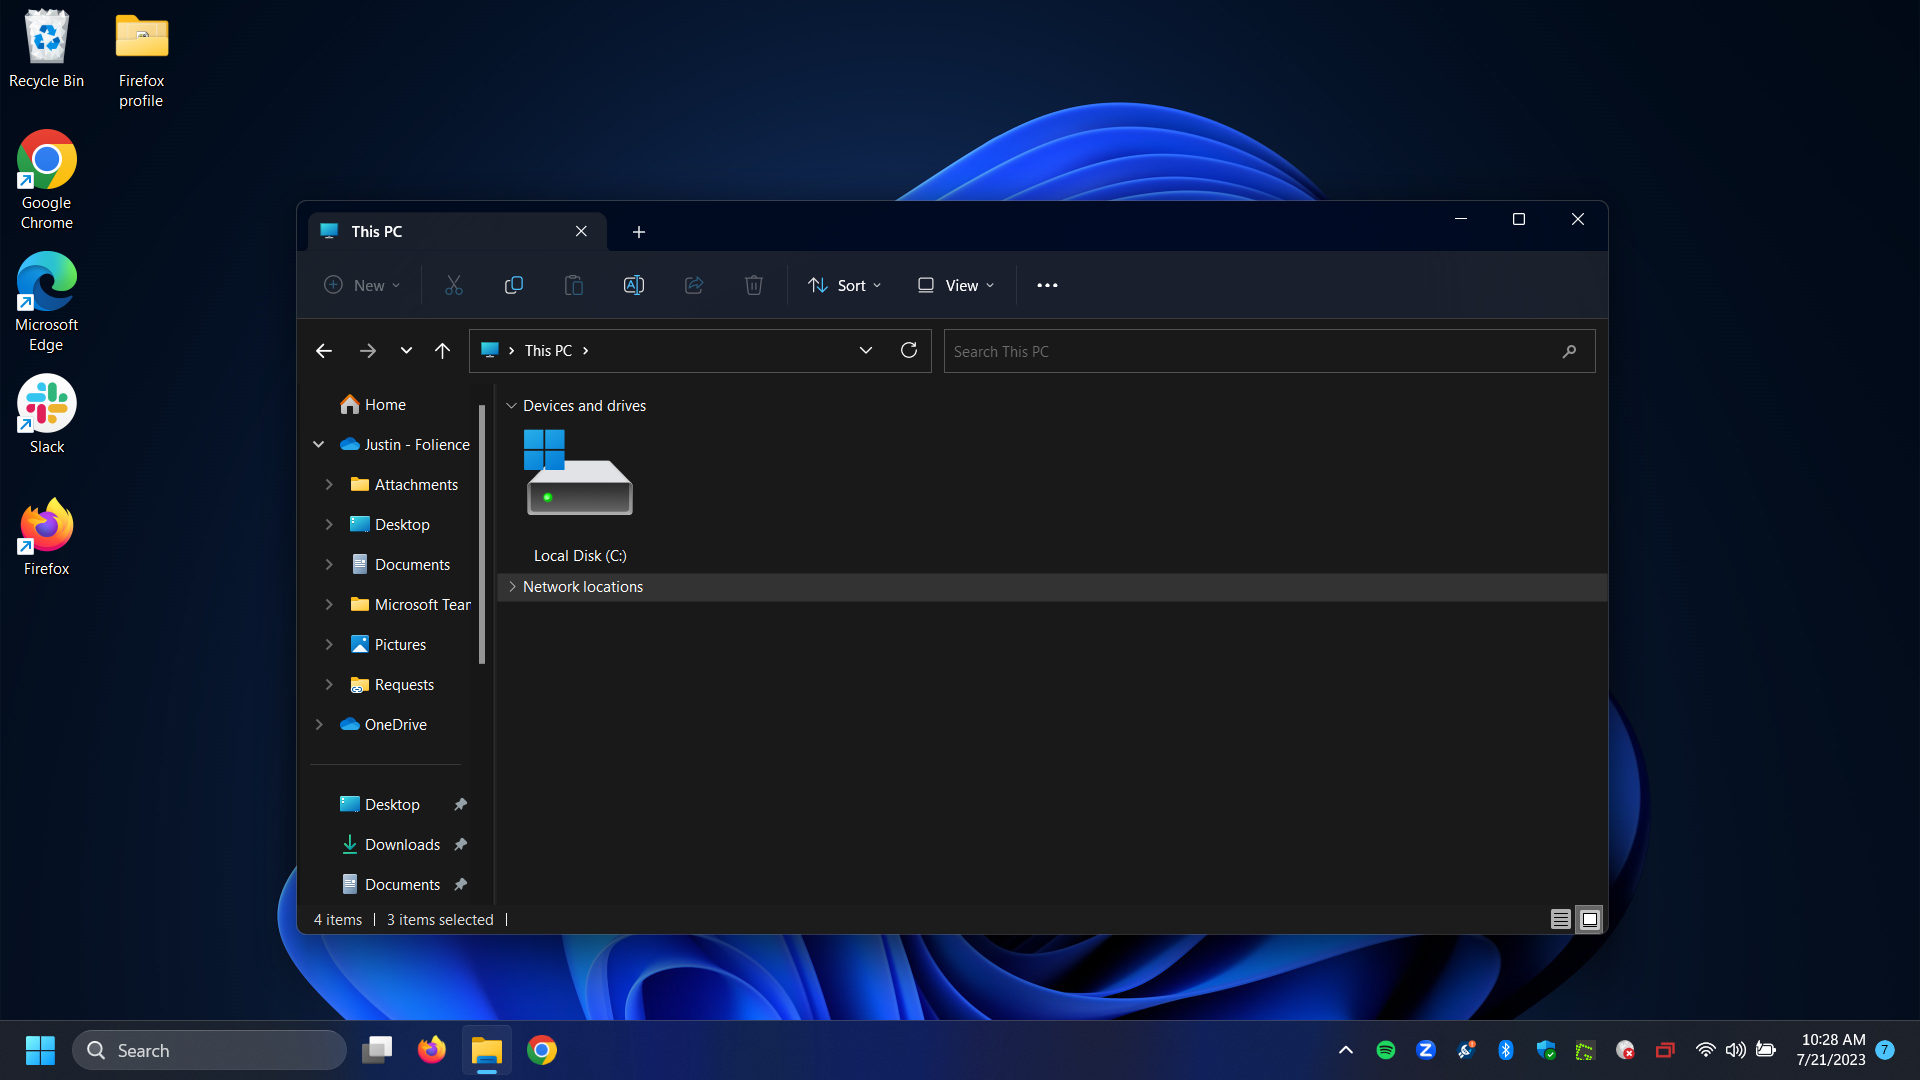
- Your OneDrive files and locations should now exist as an option on the left hand side. Any folders that are apart of your sync will be listed here.

- Now you can drag and drop files into these folders to be saved into your OneDrive. If you wish to save any files that are not apart of your sync, you can use file explorer to move them into OneDrive.
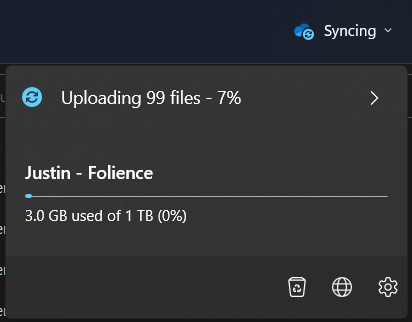
- You can manually begin a sync of your files here by double clicking on your OneDrive folder. An indicator stating the sync has begun will appear now in the top right and show you the status.

- You can also select the top right drop down menu to see further information about your current sync or status of your OneDrive storage. You may also use this as an option to launch your Web Portal version of OneDrive by selecting the globe icon. This also is where you may see your recycle bin and other settings.

Request Files from another person
From time to time individuals will need to send files that are not conducive to email communication. Sometimes these files are blocked for security reasons (.html, etc...). Sometimes these are blocked due to size limits (.zip, etc..). Sometimes there is a large volume of files that need to be transferred.
In these cases, it may be best to utilize a feature in OneDrive called "request files" to create an upload link that someone will use to transfer files to a personal OneDrive location.
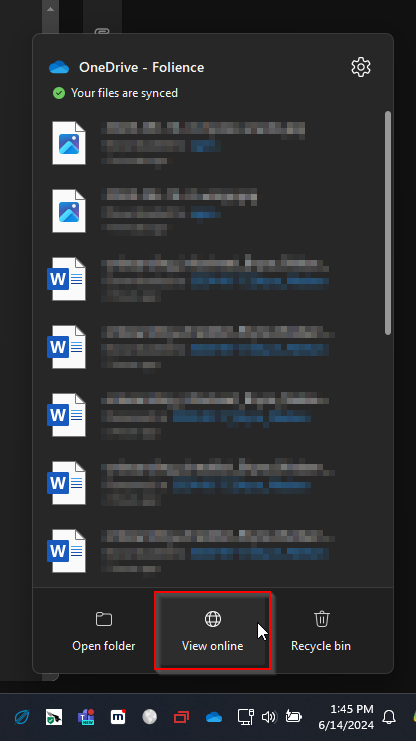
Login to OneDrive
To create an upload link, you will want to navigate to the online version of OneDrive. You can get to this by clicking the OneDrive cloud logo in the bottom right (assuming you have it running, which you should by default) and then choose "View Online". You may also get to your OneDrive by visiting https://office.com and locating your OneDrive application.
This will take you to your OneDrive online.
Create Upload Folder
Our recommendation will to create a dedicated folder for making file requests.
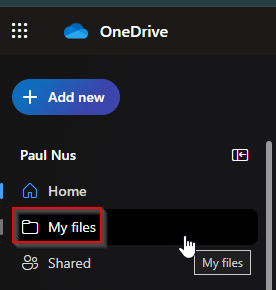
Once inside of OneDrive, click on "My Files".
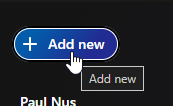
Click "Add New"
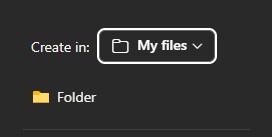
Create Folder
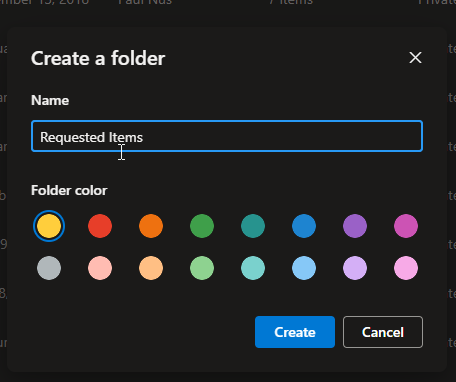
Enter a name, such as "Requested Items" and if you want to distinguish these with a different folder color (personal preference).
Requesting Files
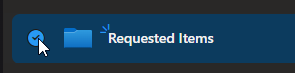
After the folder is created, click the checkbox in front of the folder you want the files to arrive in.
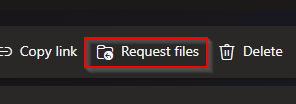
When you choose the folder, a menu option appears up top called "Request files". Click that to create a link to send to people.
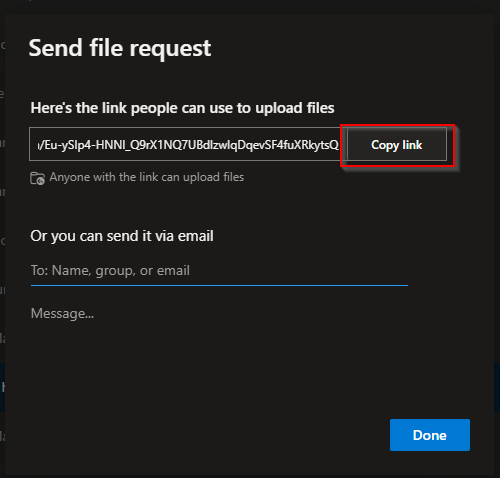
Give a descriptive name to let recipients know what they are being asked to upload so they ensure they have the correct link.

You may now copy that link and send an email (preferred) or type the email address in of the person you want to request files from. We recommend copy/paste due to reliability of sending.
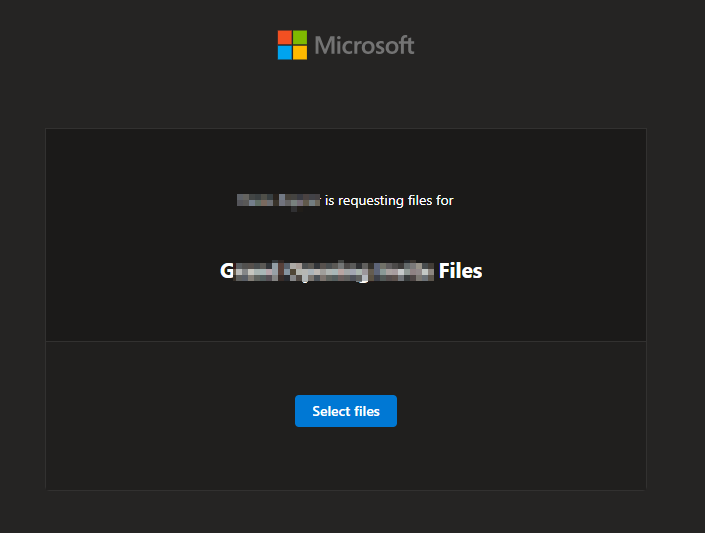
Received Link
A user receiving the link will get a button to upload files/folders.