VPN w/ AuthPoint
Setup Process
The Watchguard VPN setup is very much in-progress and subject to change. While this will be helpful, the information may become stale and require updating. Please let us know if any information is outdated if you go through this process.
AuthPoint Registration Email
You will receive an email from Watchguard asking you to setup AuthPoint. AuthPoint is the MFA product used to confirm your identity by using "something you have" in your possession (ie: your cell phone). The only method that currently will work is using the "push" notifications from the AuthPoint applications. In the email you receive, you will have a link to review the application for both Android or iPhone to primarily to ensure when you go to the AppStore, you download the correct app.
Authpoint is only available with Android or iOS. Employees that do not have a cell phone to use for this purpose or do not want to use a cell phone will not be able to use this service.
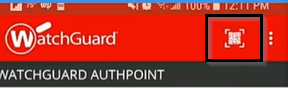
Once you have the app downloaded on your phone, you can click the QR code scanning button (and approve access, if asked) and scan the QR code in the email you received.
Once scanned, you will see a new entry in AuthPoint that looks to have a countdown timer with 6 numbers that rotate. This is called a One-Time-Passcode (OTP), and is a common MFA method. You will not need to enter the 6 digit numbers in any location at this time. You will only use the push notifications when connecting to the VPN that you will see once you make an authentication attempt.
Watchguard Password Setup
You will receive a second email from Watchguard asking you to setup a password. Because the authentication is not connected to any current company authentication source, we are using local Watchguard accounts at this time. Thus, you will need to setup a password for connecting to the Watchguard VPN that you will provide during your VPN login.
We understand there are a lot of usernames and passwords to remember. We are working on a way to use your network login but it is not active at this time. Please consider using Keeper to store a password that is unique and different. You will only need to use the password once and it will be saved on success.
Windows VPN Profile
Our Watchguard setup uses the native Windows VPN client. This is not available on MacOS or Linux.
An administrator will need to push a script to your computer that automatically configures the VPN profile and uploads a certificate to your local computer. Once that setup is complete, you will see the profile on your Windows device under the network icon (same icon to turn on WiFi, see network status).
Windows11 vs Windows10
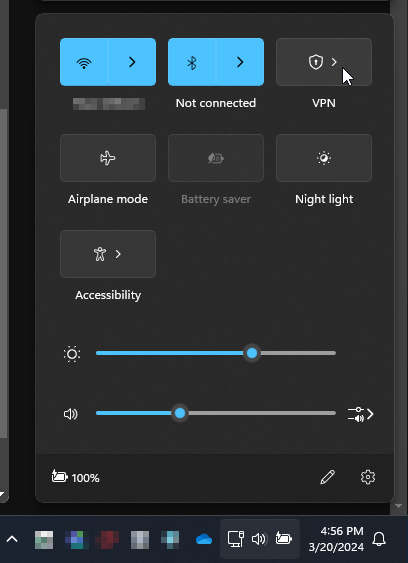
On Windows 11 devices, the VPN icon should appear in your network list. Once you click the VPN icon you will see all the VPN connection profiles (there should only be one) you can choose to connect to. After clicking that profile, it will prompt for a username and password. This will be your Watchguard username (typically matching network username) and your Watchguard password (whatever you setup).
Example in Windows 11

Example In Windows 10
(DO NOT HAVE - YOU WILL SEE THE VPN PROFILE AT THE TOP IN WINDOWS 10 - THERE IS NO SUB-MENU FOR VPN)
Upon entering the username and password successfully, it will give you a "connected" status. On Windows 11 machines, you will see a blue dot when connected to VPN. Windows 10 requires to click to view status as there is no visual representation on the taskbar.
Global Protect
When connected to Watchguard, it is likely that you will not be able to use Global Protect. In addition, it is not advised to run multiple VPN's at one time. You may still use Global Protect if you are having issues with Watchguard, but please make sure you only use one VPN at any given time.
Auto-Connect
Having the VPN auto-connect is not something we will be enabling at this time. The setup of this process is doable but not ideal and we would rather you turn on/off VPN as needed.